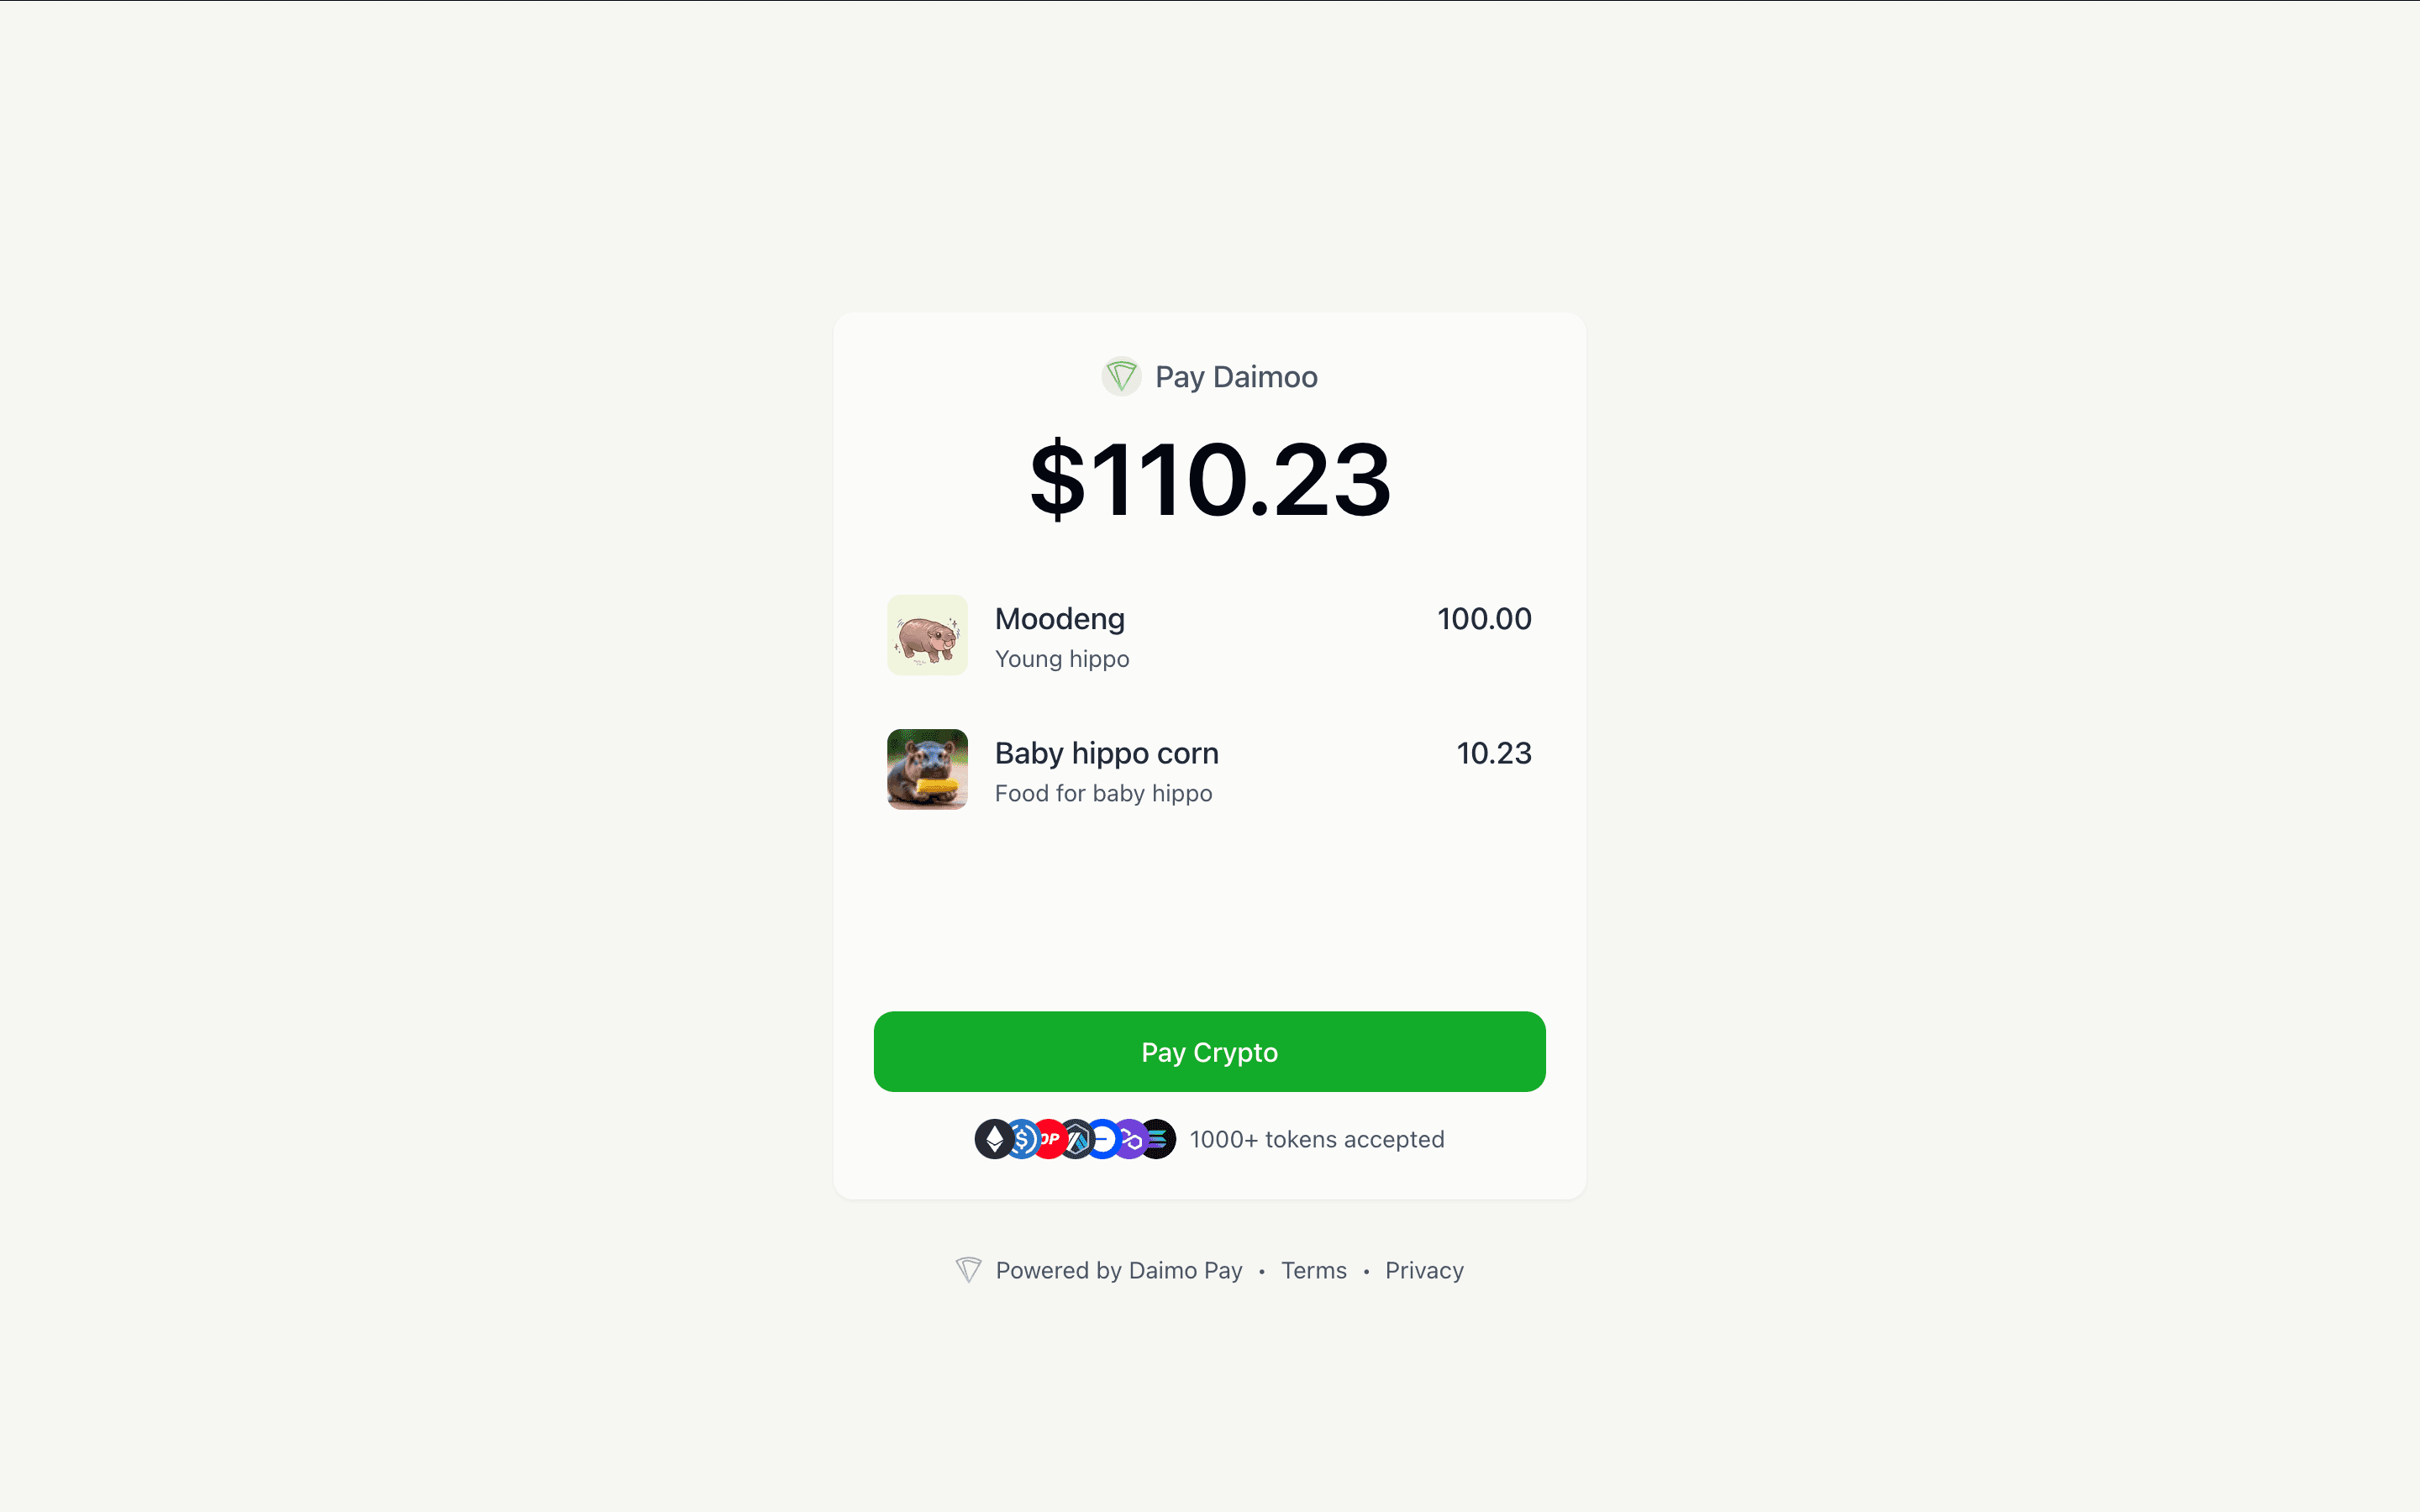
Payment Links

Payment links are the simplest way for customers to pay you in crypto. Set which chain and which token you want to accept, and let your customers pay with the tokens they already own.

In this guide we will look at how to generate payment links and how to integrate payment links in your app using a hosted flow or an embedded flow.

Use cases

1. Accept crypto payment

Payment links enable you to accept crypto payments from customers in any token across multiple chains, but receive your earnings in your preferred token on your preferred chain.

For example:

  1. You want to receive USDC on Optimism.
  2. Your customer prefers to pays with a different token on a different chain.
  3. The customer pays with their preferred token.
  4. You receive USDC on Optimism within seconds.

The bridging and swapping is automatically done by Daimo, requiring no additional steps for you or your customer.

2. Cross-chain bridge and swap with a contract call

This use case is intended for developers who want to enable cross-chain and any-token support for their apps with no changes to their contracts. Instead of receiving payment with a ERC-20 or native token transfer, you can make an arbitrary contract call.

This enables use cases like:

  1. Splitting customer payments between multiple recipients.
  2. Allowing customers to pay for NFTs or digital assets with any token.
  3. Tracking payments with your own custom contract.
  4. Enabling complex dapp actions using any token on any chain.

Create payment links by sending a POST request to the /generate endpoint with payment parameters.

Request parameters

  • Name
    intent*
    Type
    string
    Description

    Purpose of the payment. For example. "Pay Daimoo" or "Deposit to Daimoo".

  • Name
    items*
    Type
    list of objects
    Description

    List of item objects being purchased. Each item object has the following keys:

    • name (string): Name of the item being purchased
    • description (string): Description of the item being purchased
    • image (string): Optional URL to an image of the item being purchased
  • Name
    recipient*
    Type
    object
    Description

    Payment recipient details.

    • address (string): Ethereum address of the recipient of the payment
    • amount (string): Amount of the payment in the token's smallest unit. For example, use "1000000" for $1.00 USDC (6 decimals) or "1000000000000000000" for 1 ETH (18 decimals).
    • token (string): Address of the token on the destination chain to receive payment in. To receive the chain's native token (ETH or MATIC), set it to "0x0000000000000000000000000000000000000000"
    • chain (number): Chain ID of the chain to receive payment on. We support Base (8453), Arbitrum (42161), Optimism (10), and Polygon (137) mainnet. For testnet, we support Ethereum Sepolia (11155111).
    • callData (string): Optional. Calldata to execute an arbitrary contract call on the recipient address contract with the amount as approved input. See the quickstart for example usage.
  • Name
    redirectUri
    Type
    string
    Description

    Optional. URL to redirect the customer to on successful payment completion.

  • Name
    paymentOptions
    Type
    string[]
    Description

    Optional. Array of additional payment options to display to the user. The available options are: "Daimo", "Coinbase", "RampNetwork", and "Binance". Defaults to including all options. Wallets like MetaMask, Coinbase Wallet, and WalletConnect will always be displayed.

  • Name
    payer
    Type
    object
    Description

    Optional. Sets payer preferences.

    • preferredChains (number[]): Balances for these chain IDs will be displayed first and preferred.
    • preferredTokens (object[]): Balances for these specific tokens will be displayed first, if sufficient to cover the amount. Example: {"chain": 8453, "address": "0x4ed4e862860bed51a9570b96d89af5e1b0efefed"}
  • Name
    userCanSetPrice
    Type
    boolean
    Description

    Optional, defaults to false.

    If true, allows the user to change the amount they'll be sending. The amount in the recipient object is displayed as a suggestion.

POST
/generate
curl --request POST 'https://pay.daimo.com/api/generate' \
--header 'Idempotency-Key: <A unique idempotency key>' \
--header 'Api-Key: <Your API key>' \
--data-raw '{
  "intent": "Pay Daimoo",
  "items": [
    {
      "name": "Milk",
      "description": "Get milk?",
      "image": "https://picsum.photos/200"
    }
  ],
  "recipient": {
    "address": "<Your address>",
    "amount": "1000000",
    "token": "0x0b2C639c533813f4Aa9D7837CAf62653d097Ff85",
    "chain": 10
  },
  "paymentOptions": ["Daimo", "Coinbase"],
  "redirectUri": "<Optional redirect URI>"
}'

Response body

  • Name
    id
    Type
    string
    Description

    Unique identifier for the payment link, useful for lookup and tracking.

  • Name
    url
    Type
    string
    Description

    URL of the hosted payment page.

{
  "id": "72hebvwpDJDA9qNubzb2jYjAbdDgjH4uD53rBnh8BR3A",
  "url": "https://pay.daimo.com/checkout?id=72hebvwpDJDA9qNubzb2jYjAbdDgjH4uD53rBnh8BR3A"
}

Embedded flow

With the embedded flow, you can add a button that opens a popup modal in your app that lets users pay on any chain with any token. This is the recommended flow for the best user experience.

Embedded flow demo

Daimo Pay works with any Javascript framework that supports React, including Next.js and Vue. Check out the Next.js demo here or follow the instructions below.

Install

Install @daimo/pay and its peer dependencies:

npm install @daimo/pay wagmi viem@2.x @tanstack/react-query
  • Wagmi is a React Hooks library for Ethereum, this is the library you will use to interact with the connected wallet.
  • Viem is a TypeScript interface for Ethereum that performs blockchain operations.
  • TanStack Query is an async state manager that handles requests, caching, and more.

TypeScript is optional, but recommended.

Usage

Start by setting up a Provider for Wagmi, TanStack Query, and Daimo Pay.

To set up a config for Wagmi, we will use Wagmi's createConfig function with @daimo/pay's getDefaultConfig function. This automatically sets up the Wagmi instance to support all chains and transports supported by Daimo Pay.

EthProvider.tsx

import React from 'react'

import { DaimoPayProvider, getDefaultConfig } from '@daimo/pay'
import { QueryClient, QueryClientProvider } from '@tanstack/react-query'
import { WagmiProvider, createConfig } from 'wagmi'

const config = createConfig(
  getDefaultConfig({
    appName: 'Daimo Pay Demo',
    ssr: true, // If your project uses server side rendering (SSR)
  }),
)

const queryClient = new QueryClient()

export function EthProvider({ children }: { children: React.ReactNode }) {
  return (
    <WagmiProvider config={config}>
      <QueryClientProvider client={queryClient}>
        <DaimoPayProvider>{children}</DaimoPayProvider>
      </QueryClientProvider>
    </WagmiProvider>
  )
}

Now that you have DaimoPayProvider set up, you can use the DaimoPayButton component to allow users to pay:

page.tsx

import { EthProvider } from './EthProvider'
import { DaimoPayButton } from '@daimo/pay'

function App() {
  return (
    <EthProvider>
      {/* Generate a payment link and use the ID for rendering the button */}
      <DaimoPayButton payId="Fcdcb474QD4s9KPQzaKgdz3UJTMnZVhks51WpMp2TdSV" />
    </EthProvider>
  )
}

And voilĂ , you've successfully set up Daimo Pay's embedded flow.

Customization

Daimo Pay uses ConnectKit, and offers the same themeing and customization options. You can edit fonts, colors, and other styling via the theme and customTheme props. For detail, see the ConnectKit docs.

Hosted flow

The hosted flow is recommended for the quickest no-code integration with Daimo Pay payment links. The pay.daimo.com hosted page will allow redirected customers to:

  1. Connect their wallet or deposit funds from an exchange like Coinbase
  2. Select the token to pay with from a list of tokens they own
  3. Complete a transfer

On successful payment, customers are redirected to a payment confirmation page.

Hosted flow demo

Refunds

If your payment link specifies a contract call, there is a possibility that the recipient contract fails or reverts during the call. For such cases, Daimo Pay is designed to automatically attempt a refund to the customer. In most cases, the refund will be sent back directly to the customer's wallet, but in the recipient's desired currency and chain. In rare cases, it may not be possible to refund the customer's address directly (for example, if the customer pays via an exchange), in which case we will notify you to handle the refund operations manually.

Was this page helpful?